How to Move a Pool Table: Expert Advice for Safe Transport
How to Move a Pool Table: Expert Advice for Safe Transport
Moving a pool table presents challenges even experienced DIY movers may find daunting. These heavy, precisely calibrated gaming tables require specialized handling to prevent damage to their slate surfaces, delicate felt, and precise alignment. Working with an established moving company specializing in billiards equipment can save you significant time and potential headaches. However, if you’re determined to handle the move yourself, this guide provides step-by-step instructions for safely dismantling, transporting, and reassembling your pool table. With proper planning and careful execution, you can successfully relocate your pool table without compromising its playability.
Dismantling the Pool Table
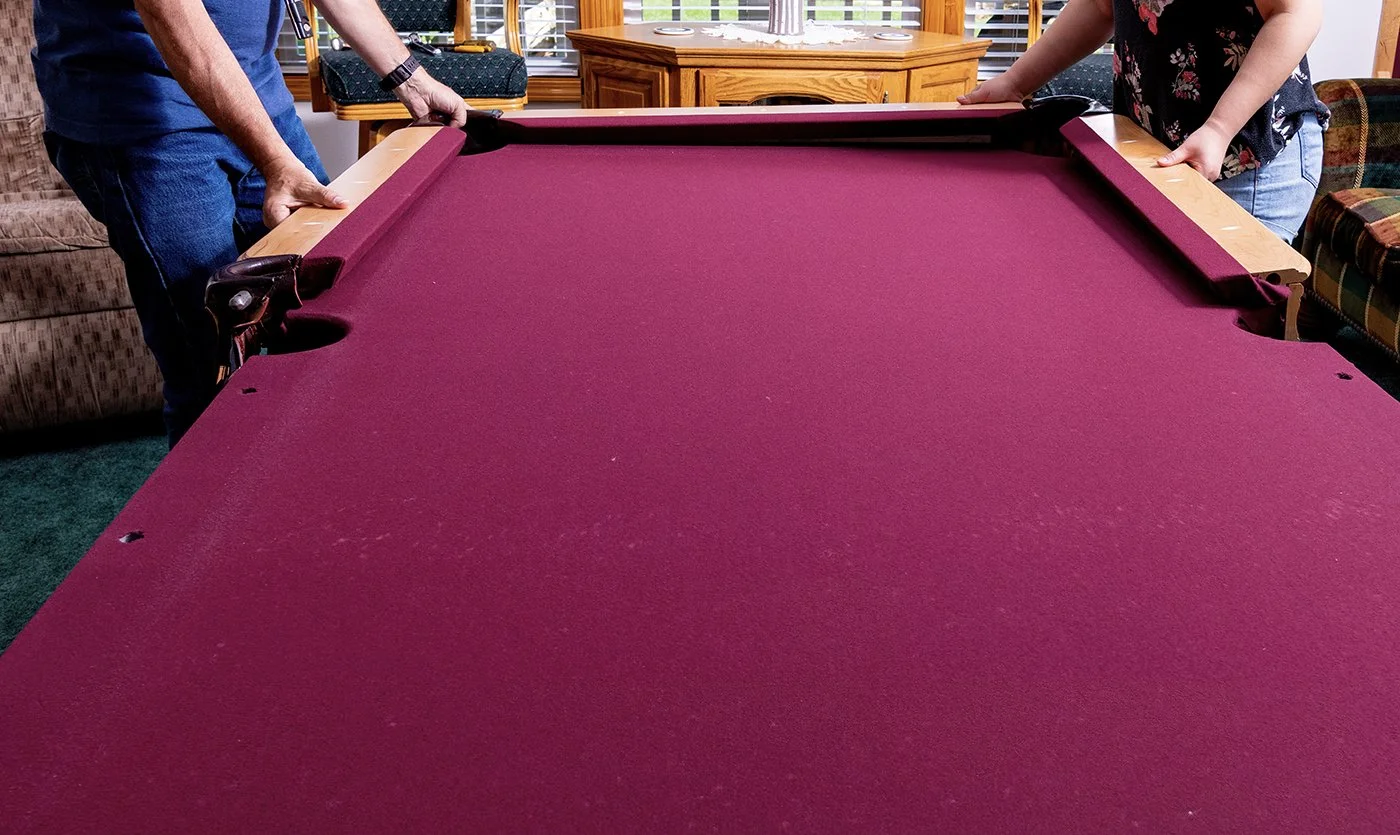
To dismantle the pool table for moving, start by carefully removing the pockets and rails. Begin by unscrewing the bolts that secure the pockets to the table. Use a power drill or socket wrench for efficiency. Place the screws in a labeled bag for easy reassembly. Next, detach the rails by locating the bolts underneath the table. Gently loosen and remove each rail, ensuring it does not damage the felt. Store the rails securely to prevent misplacement. Once the pockets and rails are off, you can disassemble the legs. Flip the table over to access the leg attachments. Unfasten the bolts and carefully take off each leg. Label all parts accordingly for a smooth reassembly process at the new location.
Protecting the Slate Surface
When safeguarding the slate surface of the pool table during the moving process, make sure to use thick and durable moving blankets to prevent any scratches or damage. Start by carefully placing the moving blankets over the slate surface, ensuring complete coverage. Secure the blankets using heavy-duty straps or tape to prevent them from shifting during transit. It’s essential to avoid dragging or sliding the pool table to eliminate any chance of the blankets slipping off. Providing a cushioned barrier with these blankets protects the delicate slate surface from potential harm caused by bumps or jolts during transportation. Remember, the slate surface is a critical component of your pool table, and protecting it appropriately ensures a smooth and flawless relocation process.
Safely Loading the Table Parts
Ensure each table part is securely wrapped in protective material before loading it into the moving vehicle to prevent potential damage during transit. Begin by carefully disassembling the pool table, making sure to keep all screws and bolts organized. Wrap each part individually in moving blankets or furniture pads, ensuring that corners and edges are well-protected. Secure the protective material with tape to keep it in place during transport. When loading the parts into the moving vehicle, place the heaviest items at the bottom and lighter pieces on top to prevent crushing or shifting. Use tie-down straps to secure the parts and to avoid movement while the vehicle is in motion. This meticulous approach will help safeguard your pool table during the journey.
Transporting and Unloading Safely
Verify the moving vehicle is appropriately equipped and that the unloading area is clear and accessible before transporting the securely wrapped pool table parts. Confirm the car has ample space to accommodate the disassembled parts without overcrowding. Place the heaviest components at the bottom of the vehicle to prevent shifting during transit. Secure the parts with straps or braces to minimize movement. Drive cautiously, avoiding sudden stops or sharp turns that could dislodge the table parts. Once at the unloading location, ensure the area is free of obstacles and has sufficient space for unloading. Use proper lifting techniques when unloading each piece to prevent injury. You can safely transport and unload your pool table components with a clear plan and attention to detail.
Reassembly and Table Setup
To successfully reassemble and set up your pool table, start by carefully laying out all the components in the designated playing area. Begin by attaching the legs securely to the table frame, ensuring they are level and stable. Then, with the help of a friend, carefully lift and position the slate back onto the table frame, ensuring it aligns perfectly. Use shims to level the slate, providing an even playing surface. Once the slate is in place, affix it securely to the frame using the appropriate screws. Next, carefully install the rails, ensuring they are aligned correctly and securely fastened. Finally, place the felt over the slate, stretching it taut and smooth before trimming any excess. Your pool table is now ready for a precise and enjoyable game.
OTHER RELATED POSTS:
- How to Move a Hot Tub
- How to Move a Refrigerator